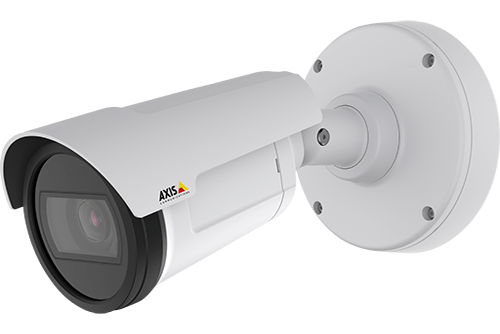
Axis makes terrific cameras and as a founding member of the ONVIF standard they are a great compliment to our product. Axis handles security for their cameras uniquely and the purpose of this blog post is to show how to enable ONVIF support in their cameras.
[NOTE: If it is an existing camera, or one that has been used with another VMS, we recommend that you update the firmware and reset to factory defaults.]
When connecting to a Axis camera for the first time it has ONVIF already enabled with no password. You can add it to our bridge without any username or password. This is great for simplicity but we strongly recommend that you password protect your cameras. Axis notes at the bottom of this screen that once a password is set, ONVIF support will be disabled until a ONVIF user is added.
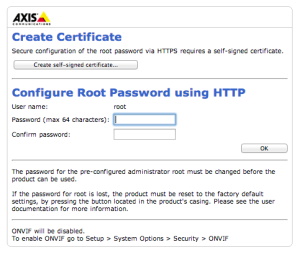
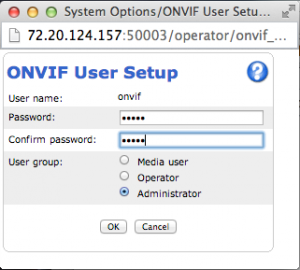
After setting the main password and logging in to the setup pages, navigate to “System Options” -> “Security” -> “ONVIF” and add a new user. In this case I named the user “onvif” but the name is not important.
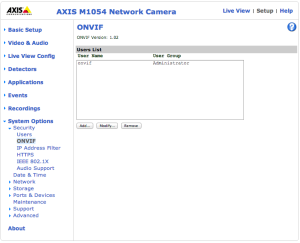
A new window will appear and you can give it a password and select the user group to be “Administrator”.
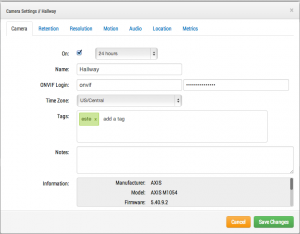
You can now add the camera to your account. Inside of the camera settings put in the ONVIF username and password. This allows us to talk to the camera and configure it to work with our product.
Other posts that might interest you

Cloud Video Surveillance Weekly Summary
Eagle Eye Networks now offers a weekly email to our resellers’ administrators that summarizes the status of accounts managed by that reseller. The Cloud Video Surveillance Weekly Summary is an…
December 6, 2018
Loitering Analytic
Loitering detection monitors a defined area and will trigger a loitering event if an object lingers longer than the configured dwell time. Loitering events can also be set up to…
November 29, 2018
Arlo Flexpower
Have you ever wanted to use battery-operated wireless cameras for professional video surveillance? Sure there are a few wireless cameras, but they require power, which means the camera is still…
September 12, 2018


